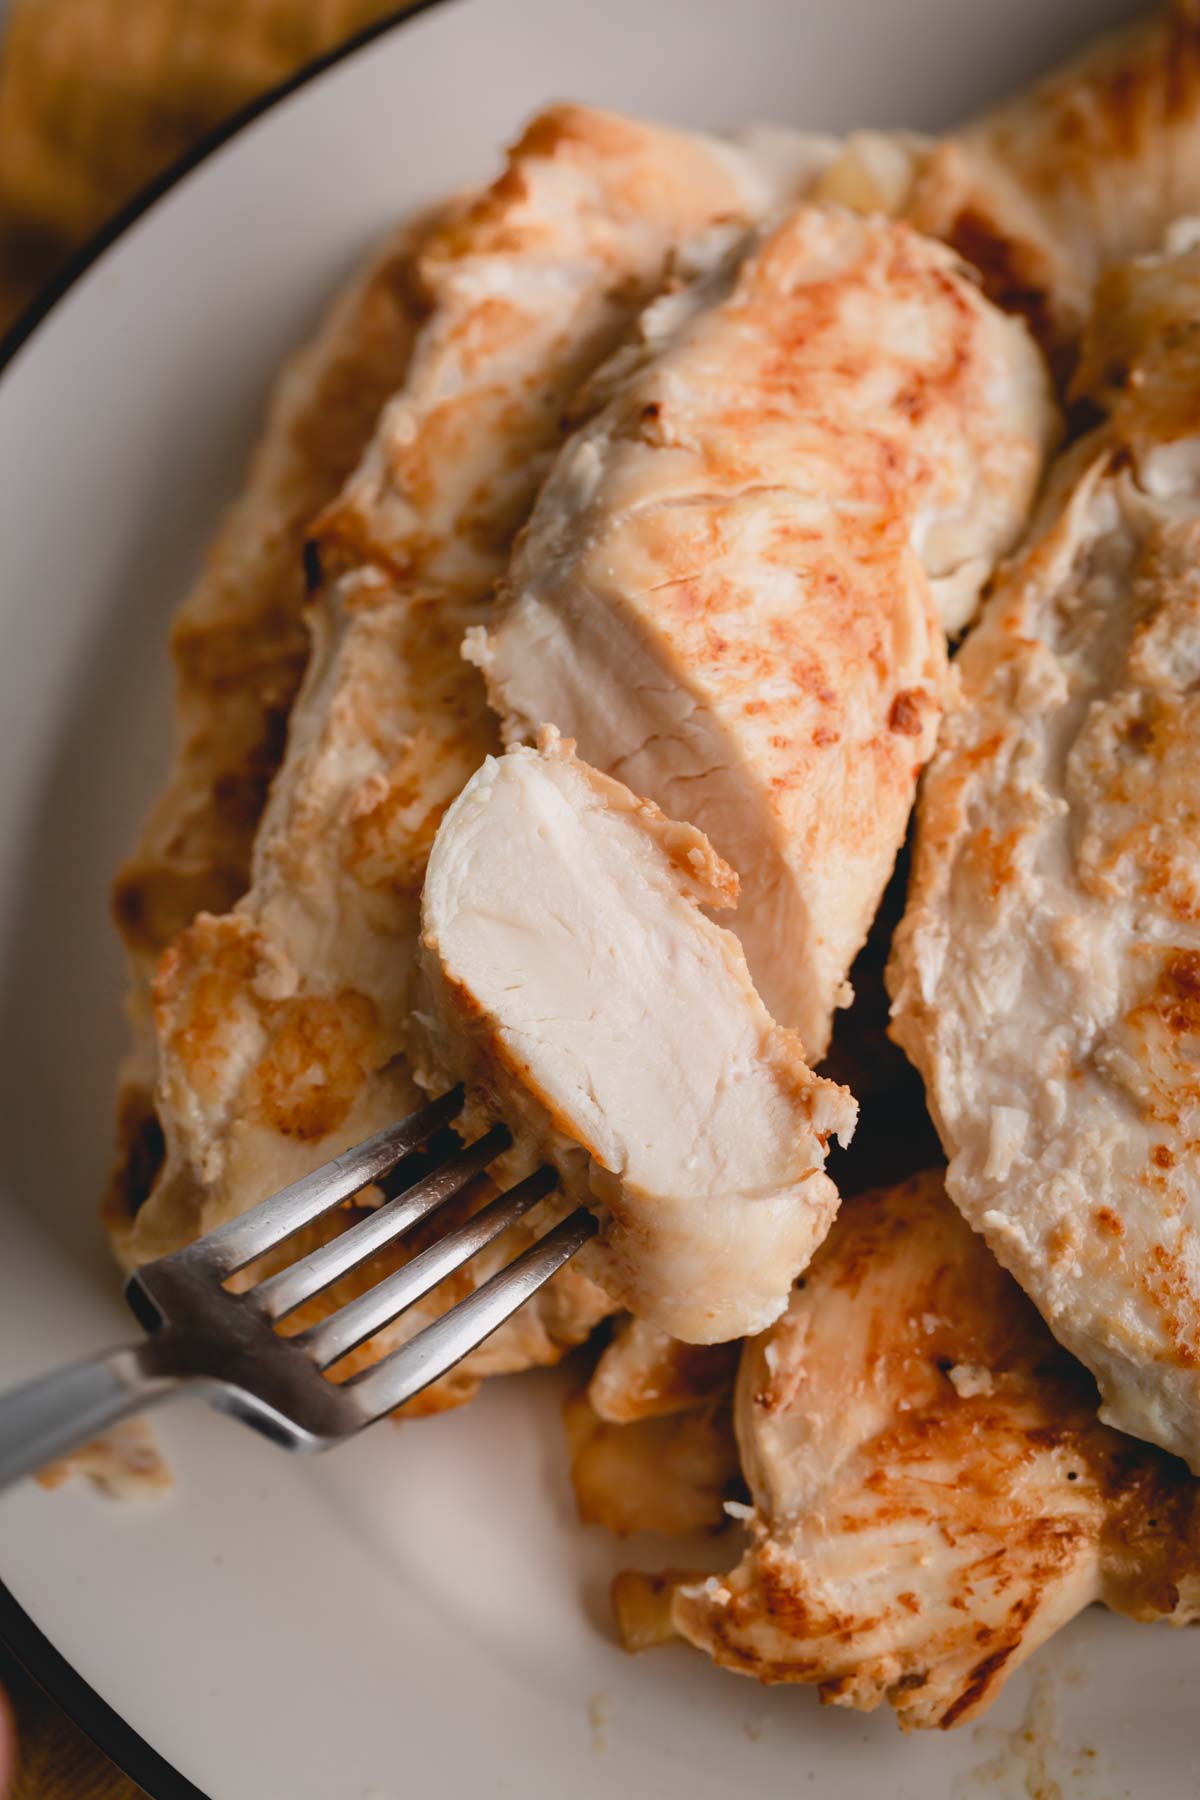
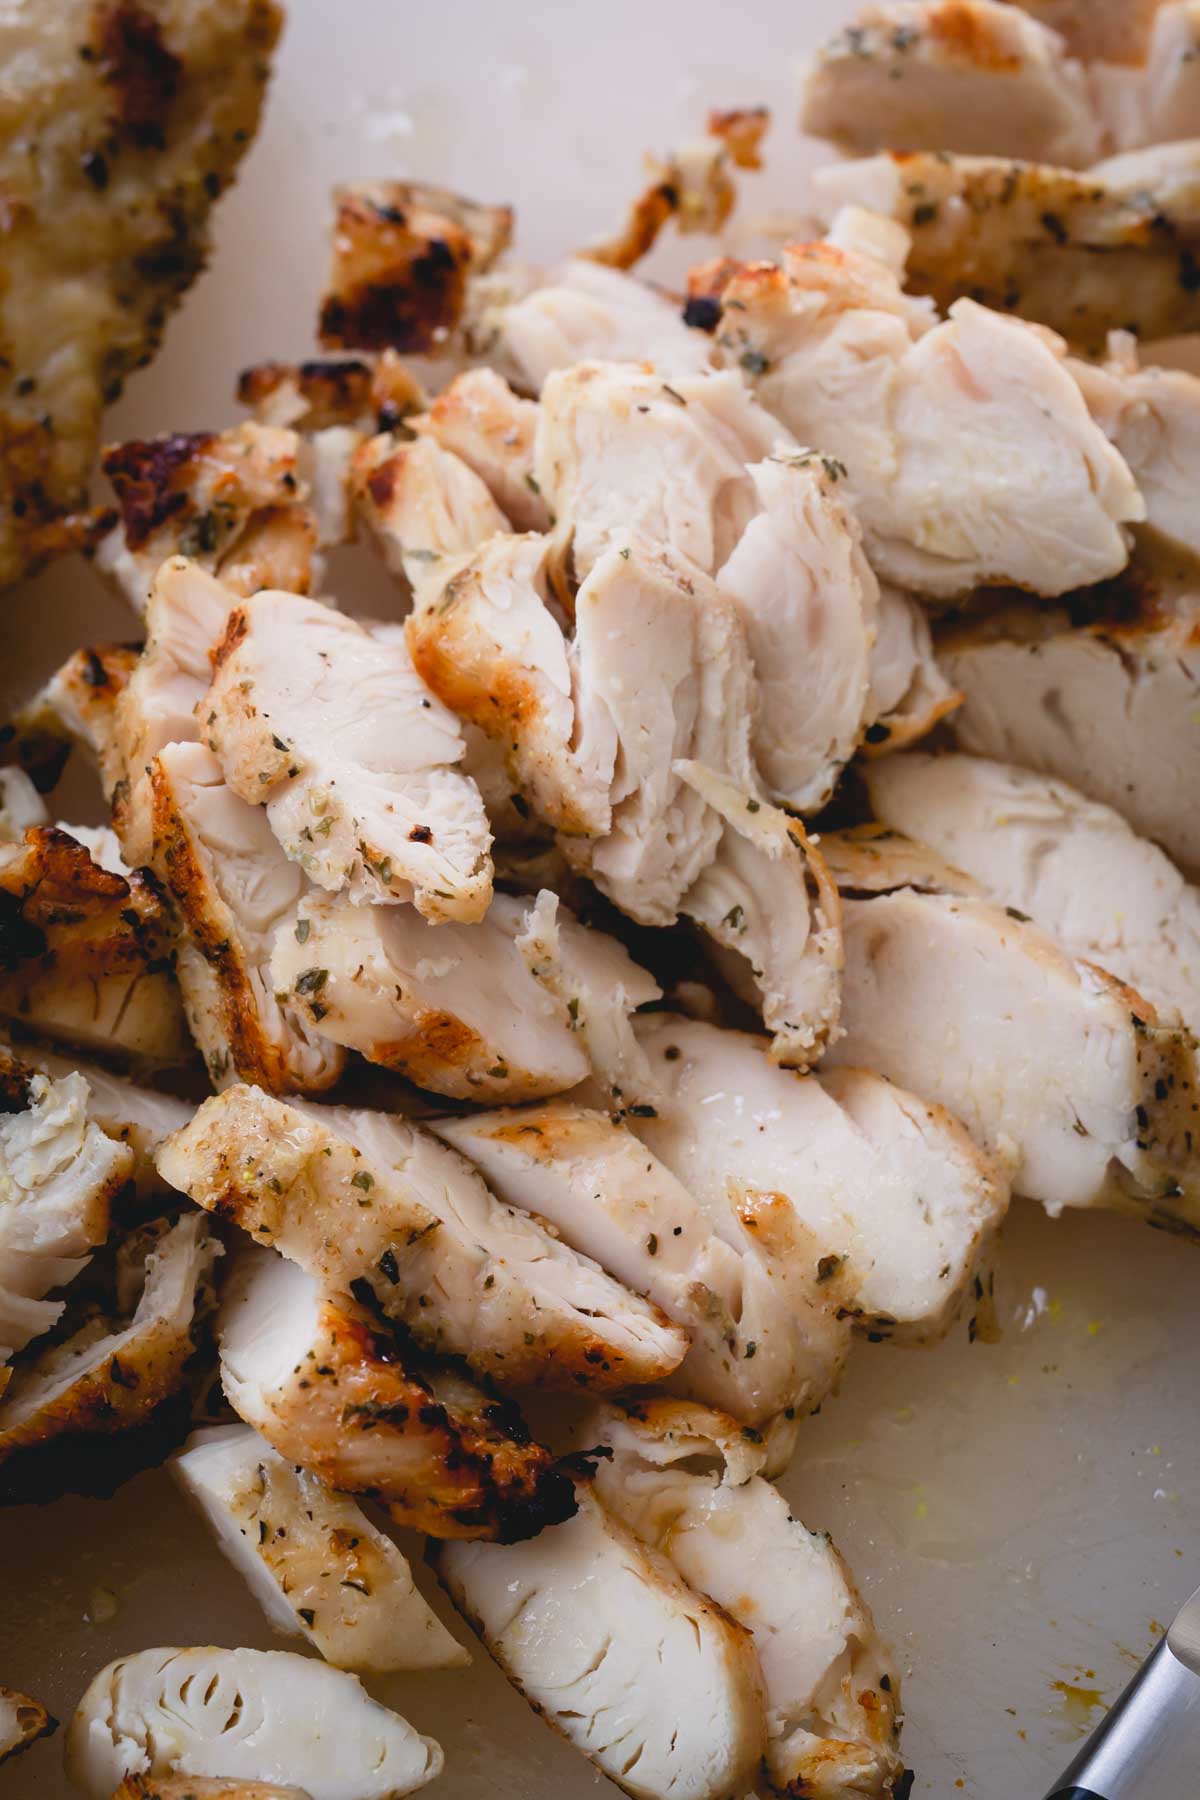
Don’t throw out the leftover pickle juice! Did you know it makes the best pickle juice brined chicken? We didn’t believe it until we tried it ourselves. All you have to do is simply combine jarred pickle juice with boneless, skinless chicken (we love tenders) and let it sit in the fridge for a few hours. We like to pan-sear or grill it after marinating, but you can also coat it in breadcrumbs to bake it on a baking sheet or fry it too.
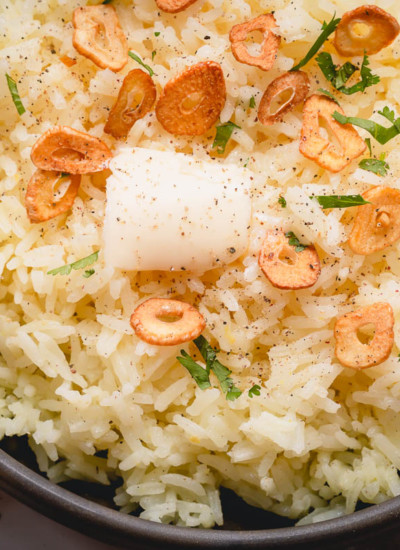
The brine infuses the chicken with a bright flavor, and the acid tenderizes it, making it incredibly moist. This is our favorite meal prep trick when we’re preparing proteins for a busy week! We love to serve it with side dishes like our orzo salad recipe, oven roasted vegetables, or garlic butter rice.
Why you’ll love this recipe
- Juicy, moist chicken – Forget rubbery, dry meat! Once you try this method, you’ll never make it any other way! With only 2 ingredients, you’ll see chicken get a major upgrade.
- Pairs well with so many side dishes – This pickle chicken is rich in flavor with a slight tang and dill flavor from the jarred juice. It’s perfect to customize with spices and herbs to add to almost any recipe.
- Great for meal prepping – When we know a busy week is coming up, we marinate and cook the chicken before the week begins for easy lunches and dinners.
Tips for Busy Cooks
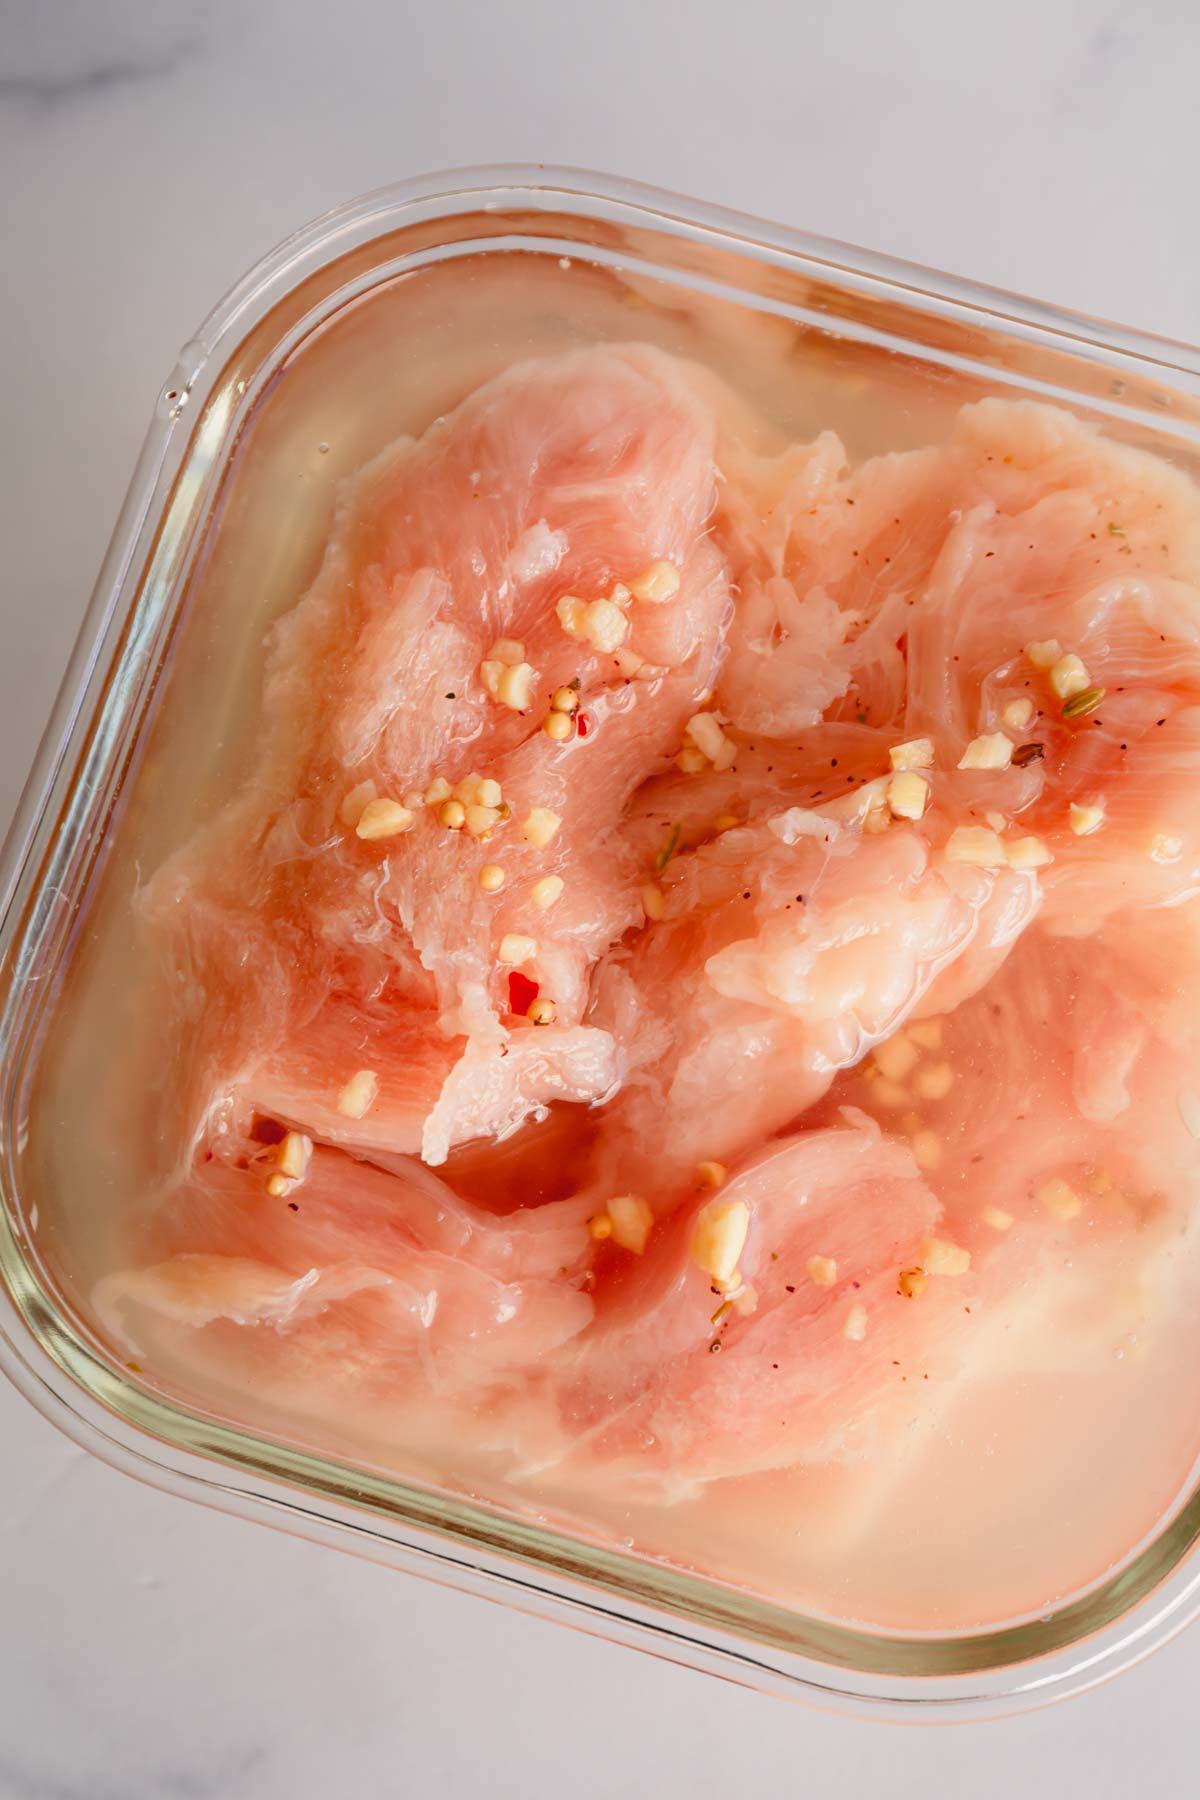
The chicken can marinate in the pickle juice for at least 4 hours and up to 24 hours. The longer the chicken sits, the more pickle flavor it absorbs.
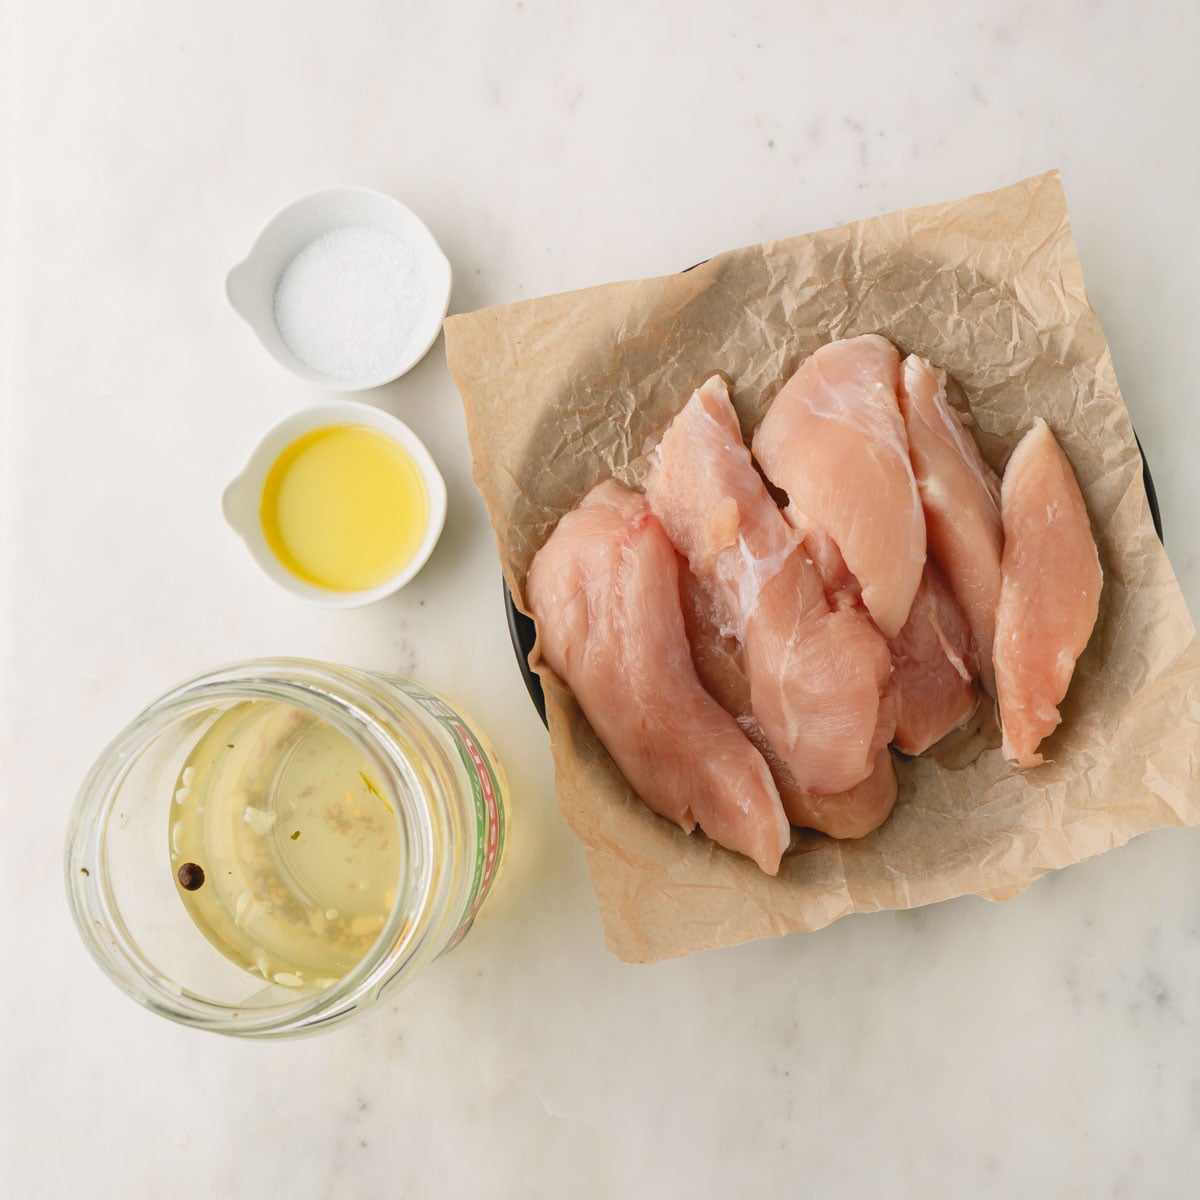
Key Ingredient Notes
- Chicken – I often use chicken tenders since they cook and marinate quickly. Boneless skinless breasts or chicken thighs work well too! You could even brine a whole chicken in pickle juice if you have enough.
- Dill pickle juice – Kiss dry chicken goodbye! Brining is the best way to keep the meat moist. Pickle juice is an instant-made brine with a bit of zip from the vinegar. It’s more about texture than flavor, but it does give it a subtle dill-pickle taste. The longer you brine the meat, the stronger the flavor will be. I highly recommend the pickle jar from the refrigerated section!!
- Kosher salt – Salt is a crucial part of any brine. Since pickle juice is fairly salty, you don’t need to add extra salt to the brine. Salt denatures protein strands, which helps them trap moisture, resulting in a juicy, moist texture. Don’t forget to season the tenders before you cook them, though.
- Olive oil – To sauté the chicken until perfectly golden brown. Canola oil works fine too.
How to make pickle brined chicken
This recipe is quite versatile. Take these directions as a guide.
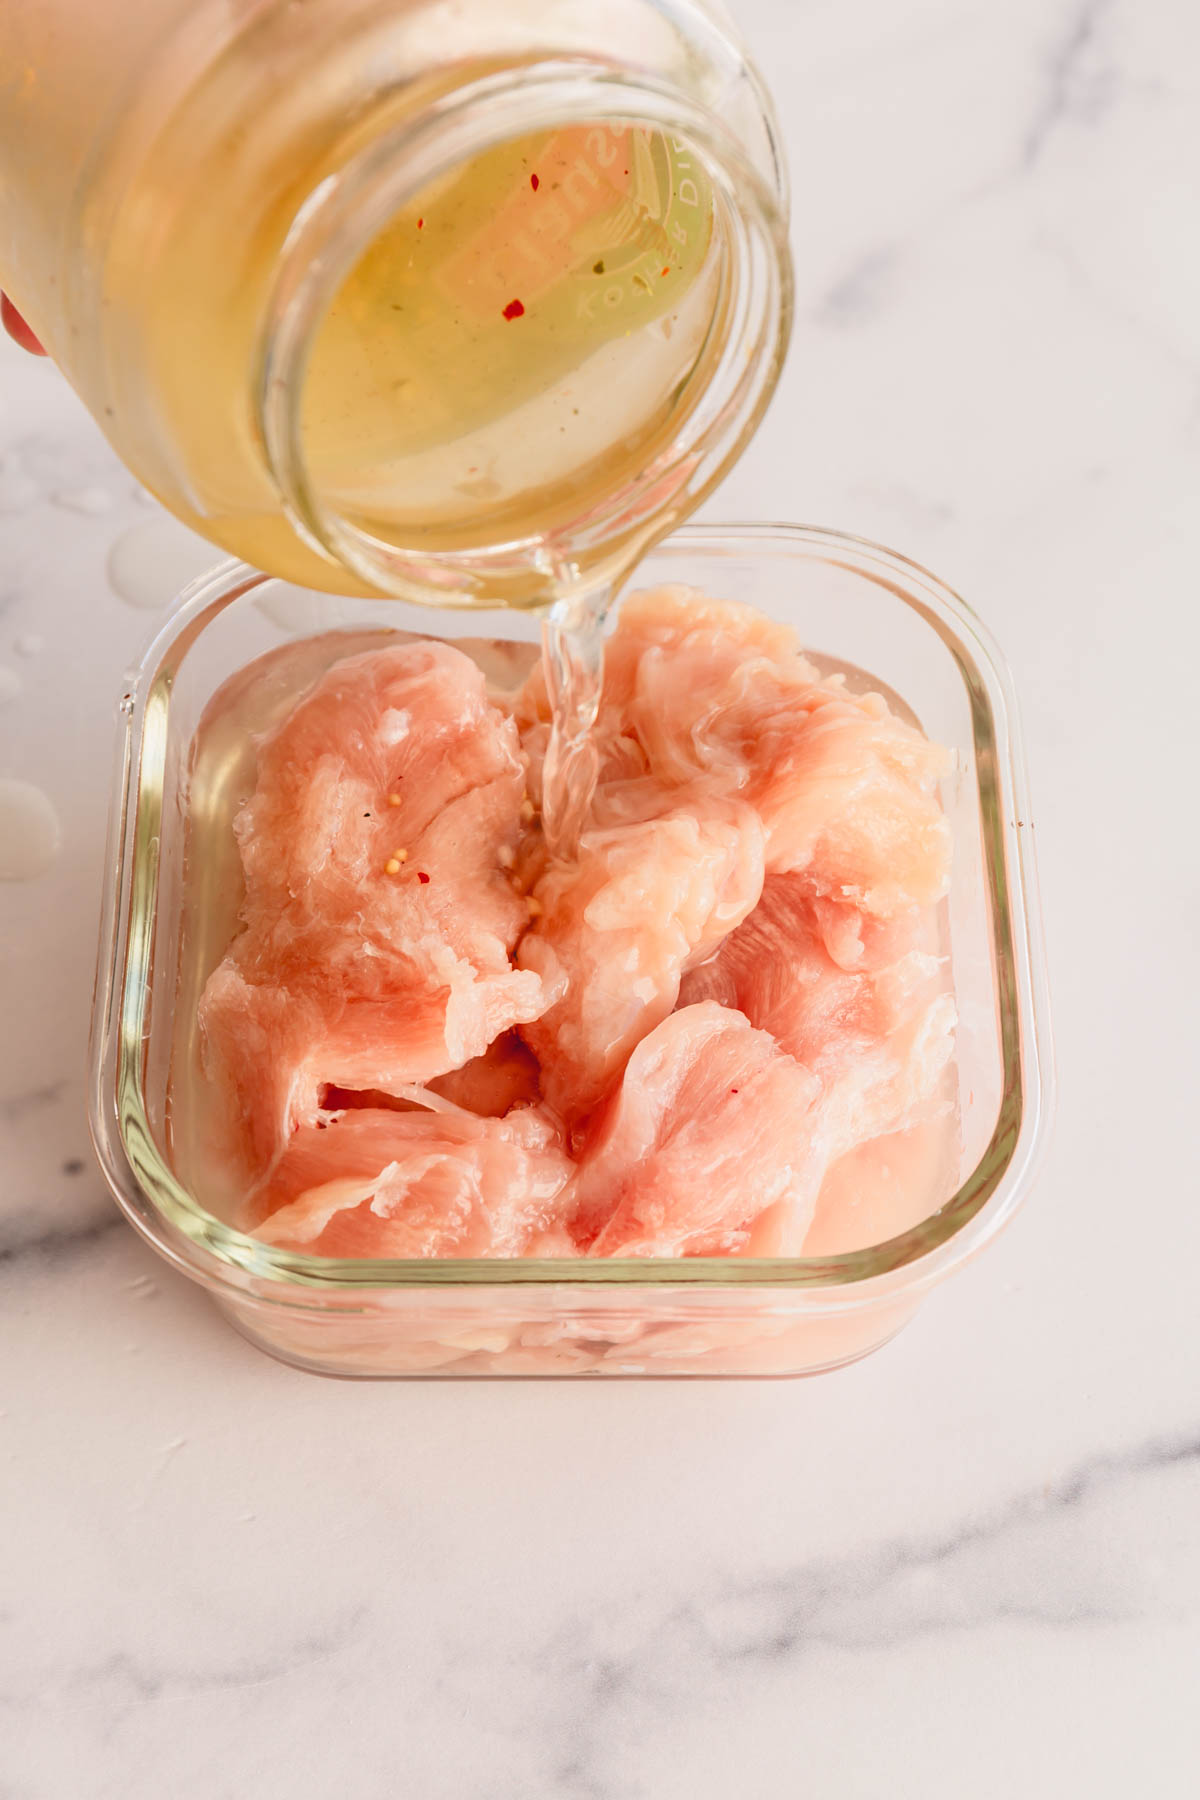
Place the chicken in a bowl and add pickle juice. (TIP: It’s best if they’re fully submerged.) Cover and let the chicken marinate for at least 4 hours or up to 24 hours.
When ready to cook, drain the meat and pat it dry with a paper towel. Discard the brine and season all over with salt.
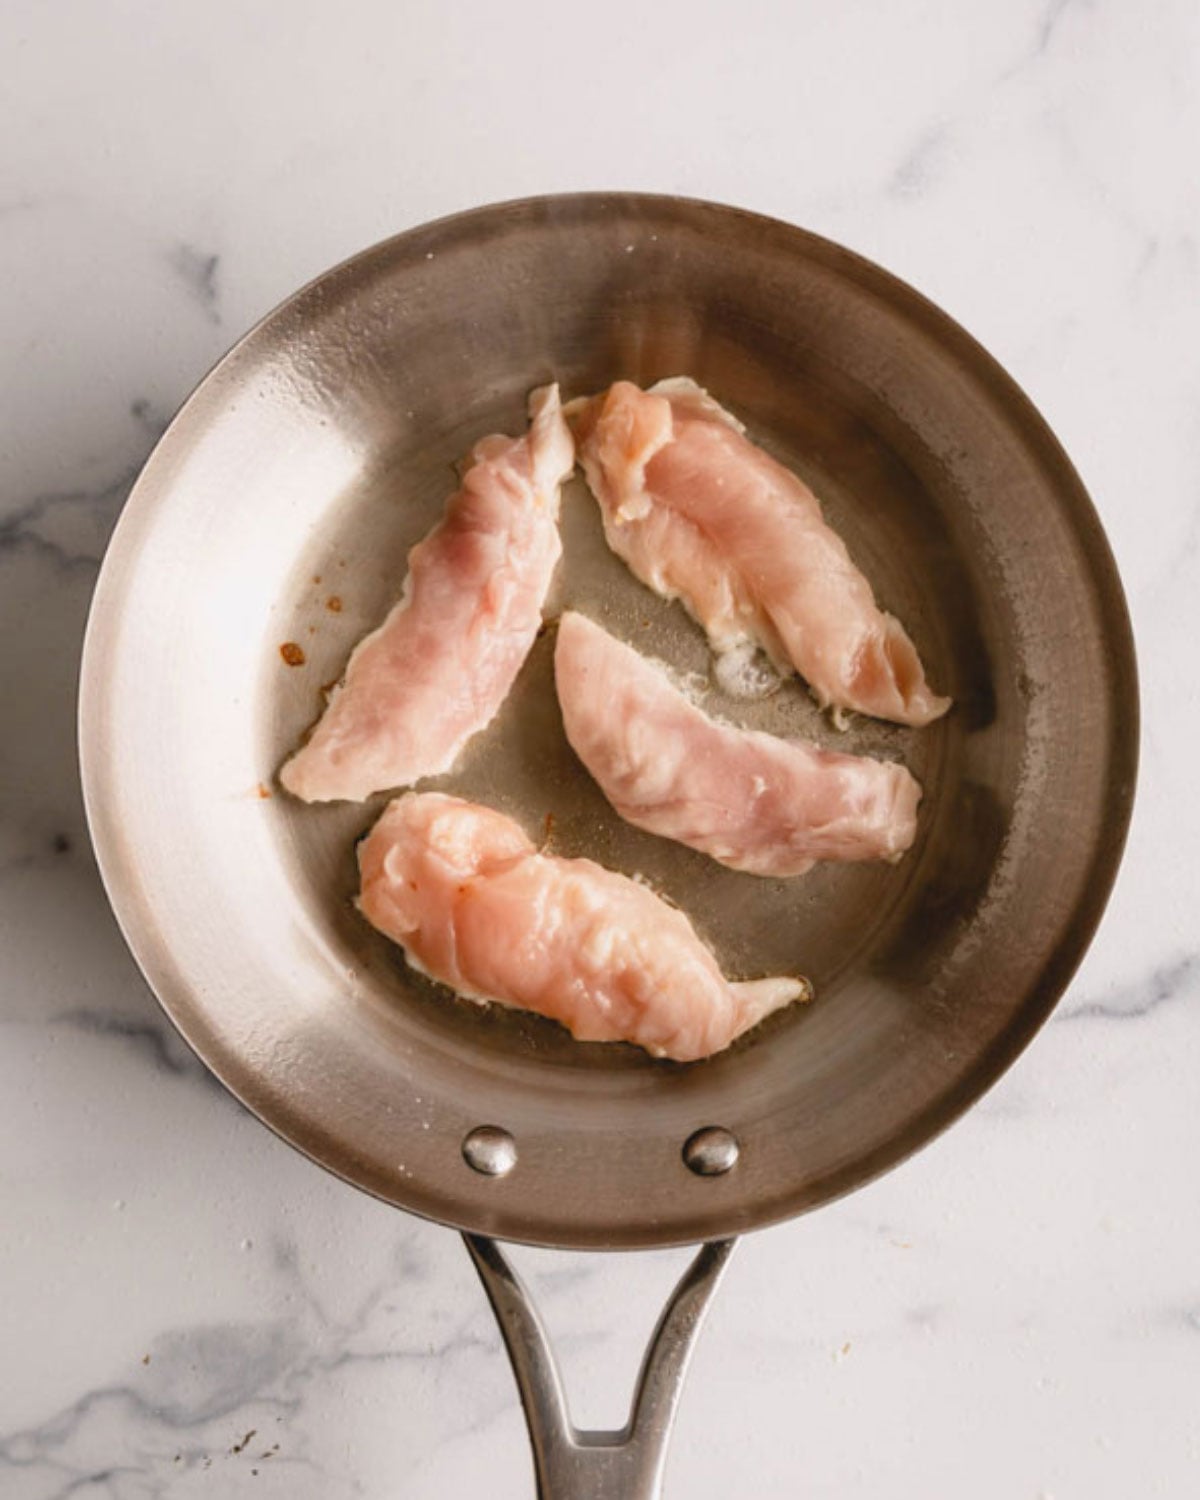
Heat a large skillet over medium-high heat and add a tablespoon of oil. Once the oil is shimmering, add chicken tenders and cook for 3-4 minutes.
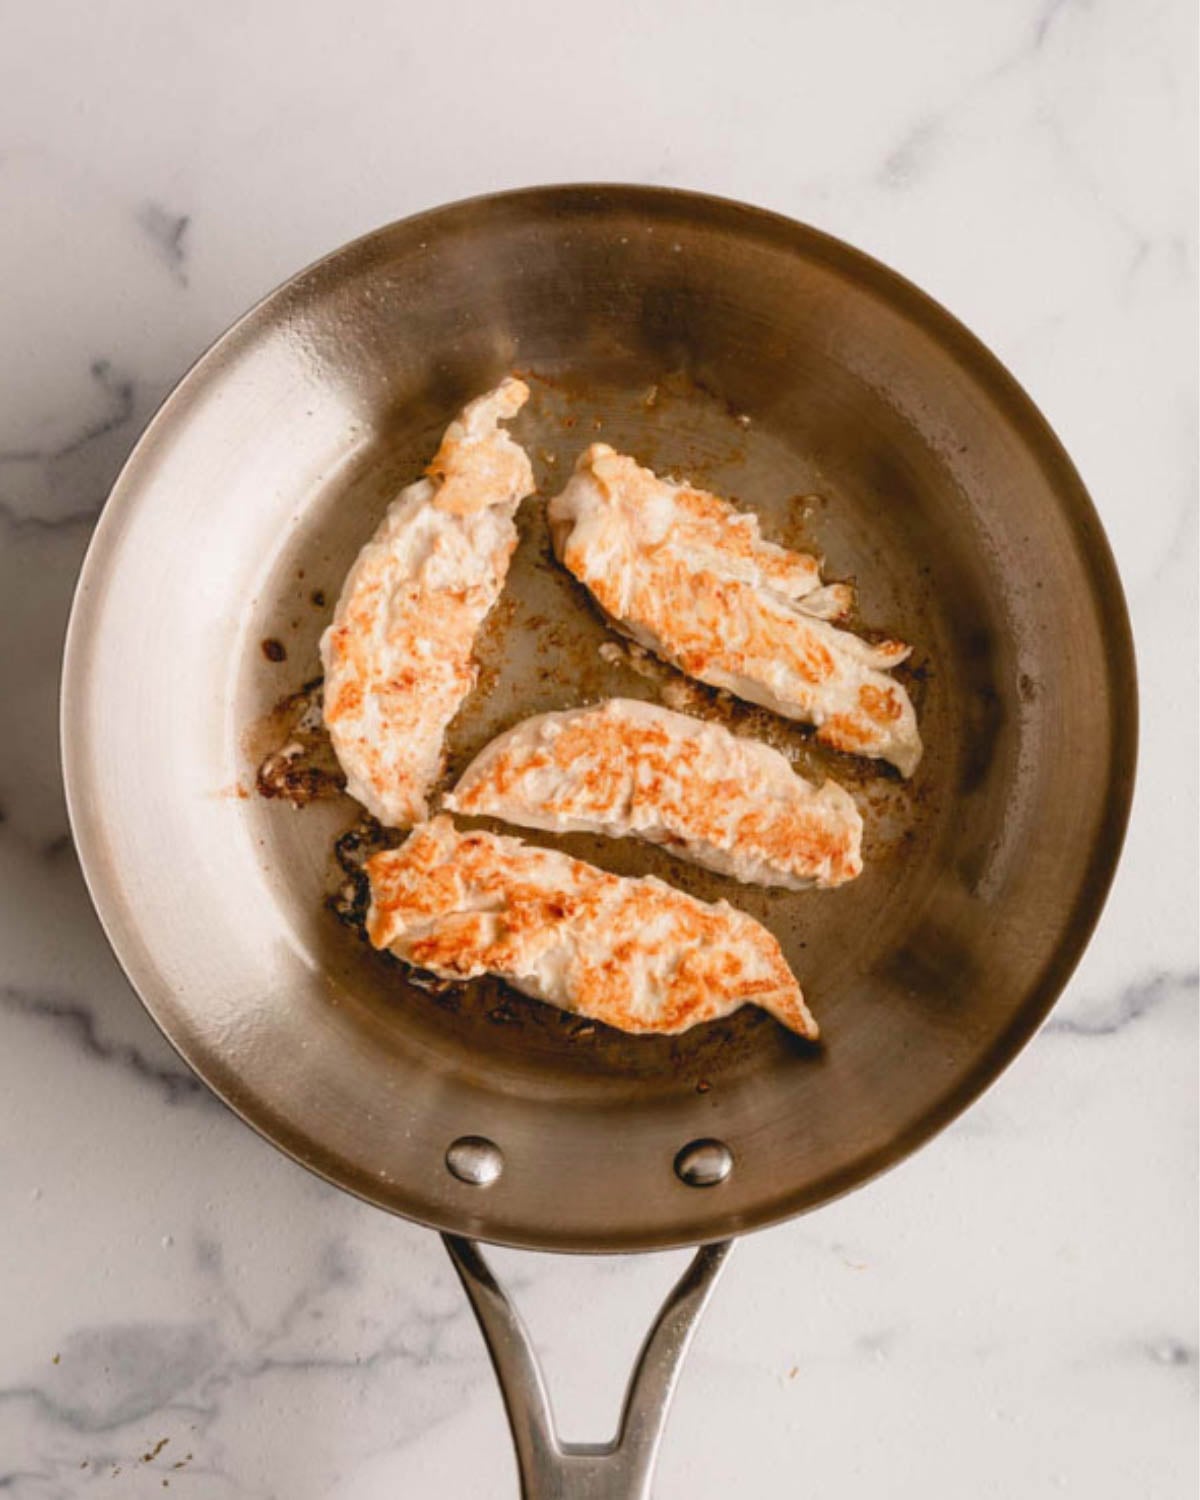
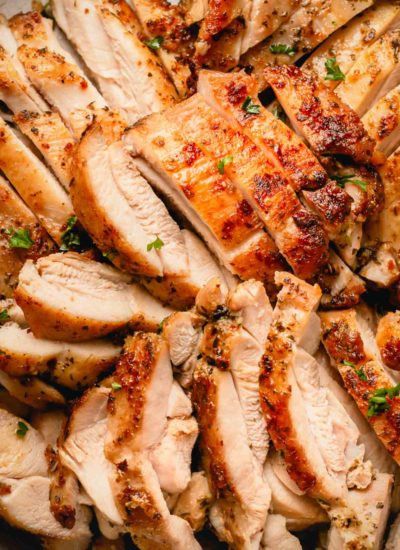
Flip and continue cooking chicken for another 3-4 minutes, or until the internal temperature reaches 165ºF. (TIP: Use an instant-read thermometer to prevent overcooking the chicken tenders!)
How to grill the chicken tenders
- Preheat the grill until hot and rub the grates with an oil-soaked paper towel.
- Grill the dill pickle chicken for 5 to 7 minutes per side, or until the internal temperature reaches 165°F. (I love this instant meat thermometer!)
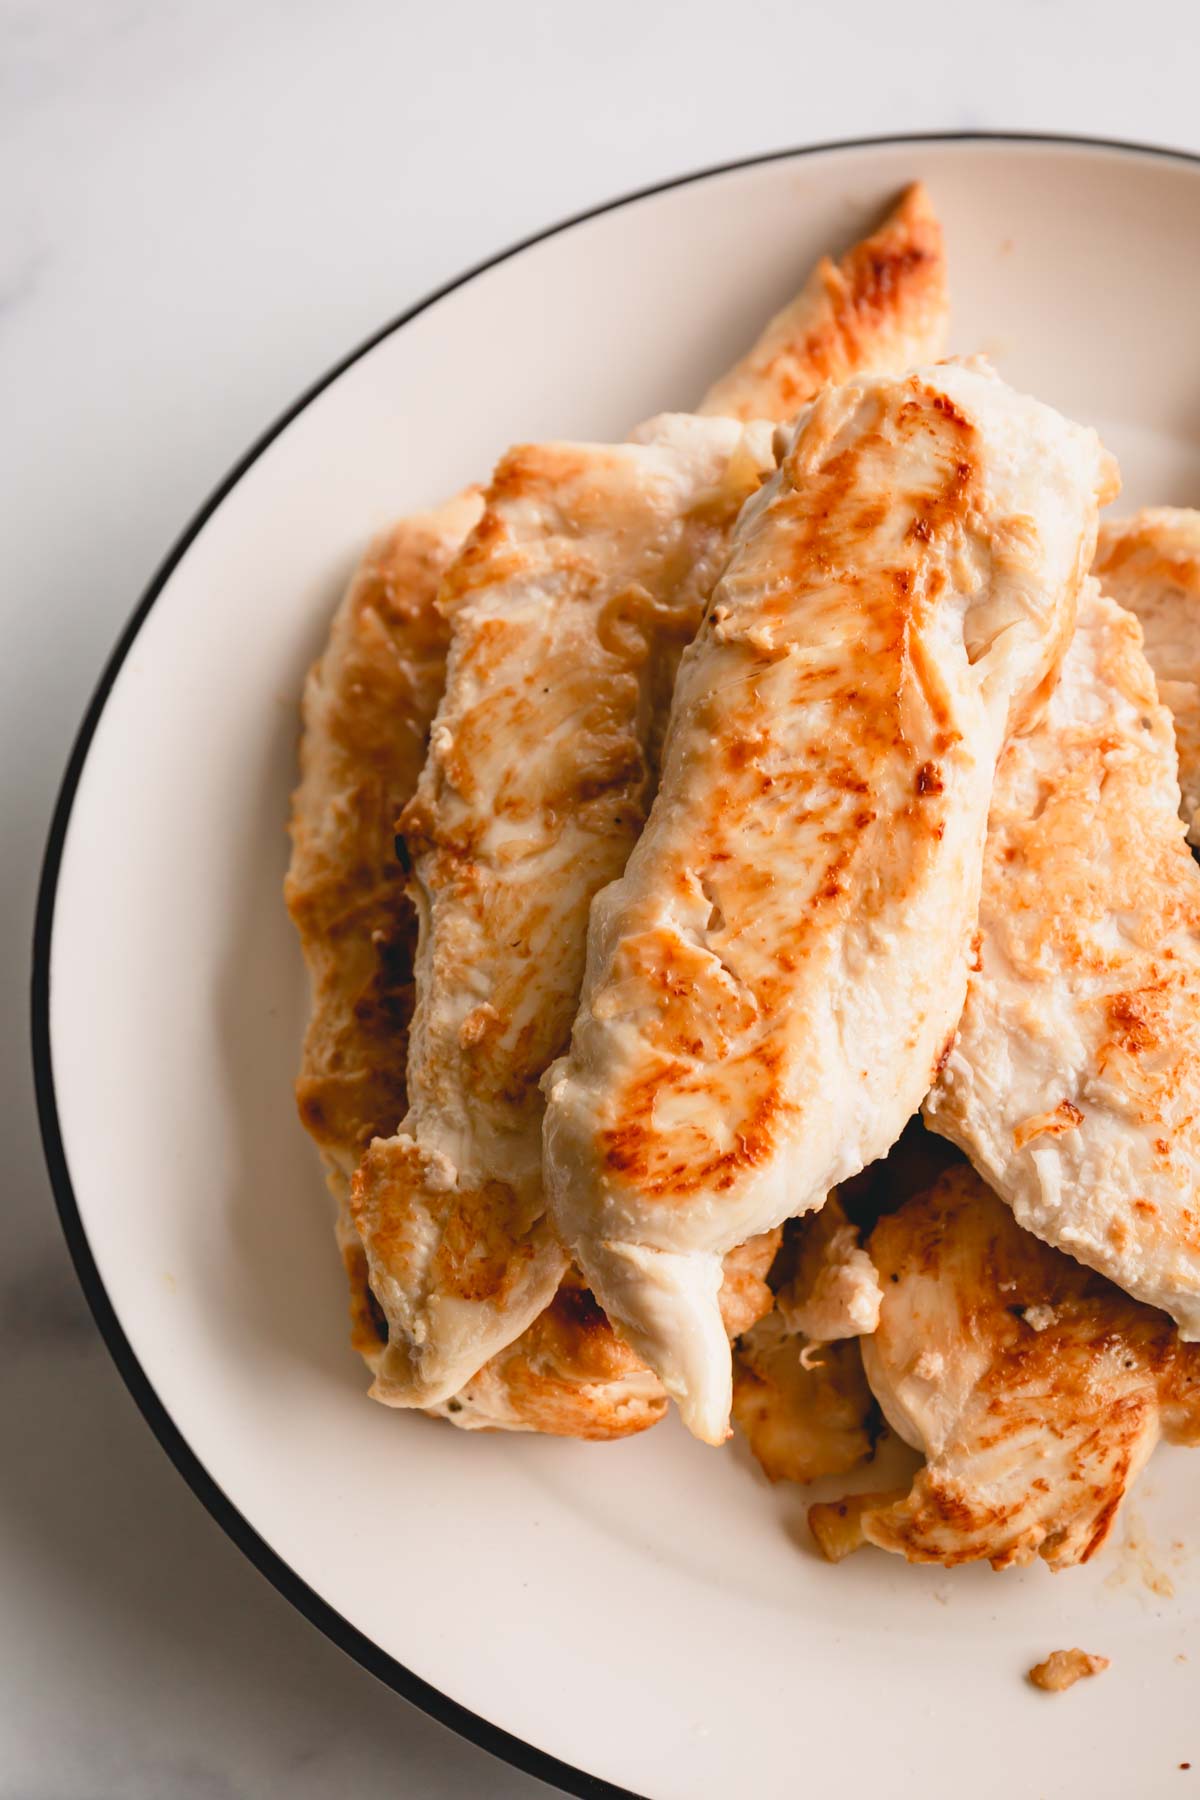
- Remove the cooked tenders from the grill, cover, and let the chicken rest for 5 minutes before slicing.
Expert Tips:
- The leftover pickle brine actually flavors and tenderizes the chicken. A brine is a mixture of salt and water used to soak your meat. It denatures the proteins and allows the meat to absorb more liquid.
- Brine the chicken for at least 4 hours! The longer you brine it, the more flavorful and tender it will be. However, don’t brine it for more than 24 hours, or the acid will change the meat’s texture.
- Feel free to season the marinade. Cajun seasoning, paprika, onion powder, cayenne pepper, lemon pepper, herbs, or jerk spice all work great!
- For a sweet and savory marinade, add brown sugar. Add three tablespoons of brown sugar to the pickle juice before you add the protein.
- You can bread the chicken after you brine it. For a simple oven baked chicken tender recipe, just dredge the tenders in a seasoned flour mixture, then egg, and lastly breadcrumbs in a shallow bowl. Put the breaded chicken on a sheet pan, drizzle with oil, and bake at 425°F until golden and crispy.

Storage
Store leftover tenders in an airtight container in the refrigerator for up to 4 days. Reheat in the oven, on the stovetop, or in the microwave. It’s best to use the oven or stovetop since the microwave can make it dry and chewy. Preheat the oven to 400ºF and bake until hot.
Pickle brine chicken is freezer-friendly! You can brine it and freeze it raw, or you can cook it first and freeze it for later. It’s always nice to have precooked chicken in the freezer when you’re short on time. Thaw it in the fridge overnight or bake it in a preheated oven until warmed through.
You can brine the tenders the night before you plan to make them. That way you don’t forget to do it 4 hours before dinner. Just remember not to brine it for over 24 hours.

What to serve with pickle brine chicken
There are so many options, as we mentioned before! The flavor of the chicken is a little tangy with a hint of freshness from the dill. Here are some of our favorite side dishes:
FAQs
Pickle juice contains a lot of salt, which is an essential part of any brine. A brine is a saltwater solution that meat is soaked in. The salt penetrates the meat and denatures the protein, allowing the meat to absorb liquid. This results in a juicy, tender end product versus a dry and chewy one.
No, pickle brine chicken doesn’t taste overpowering. It’s more of a subtle pickle flavor, and the results are more about the texture of the meat. The longer you brine the meat, the more flavorful it will be.
You can marinate the chicken in pickle juice for up to 24 hours. It’s important not to leave it in the pickle juice too long. The acid will give the meat a weird texture, and not in a good way!
Not with a pickle juice brine, you can simply pat the meat dry and then season with salt again before cooking.
More Easy Chicken Recipes
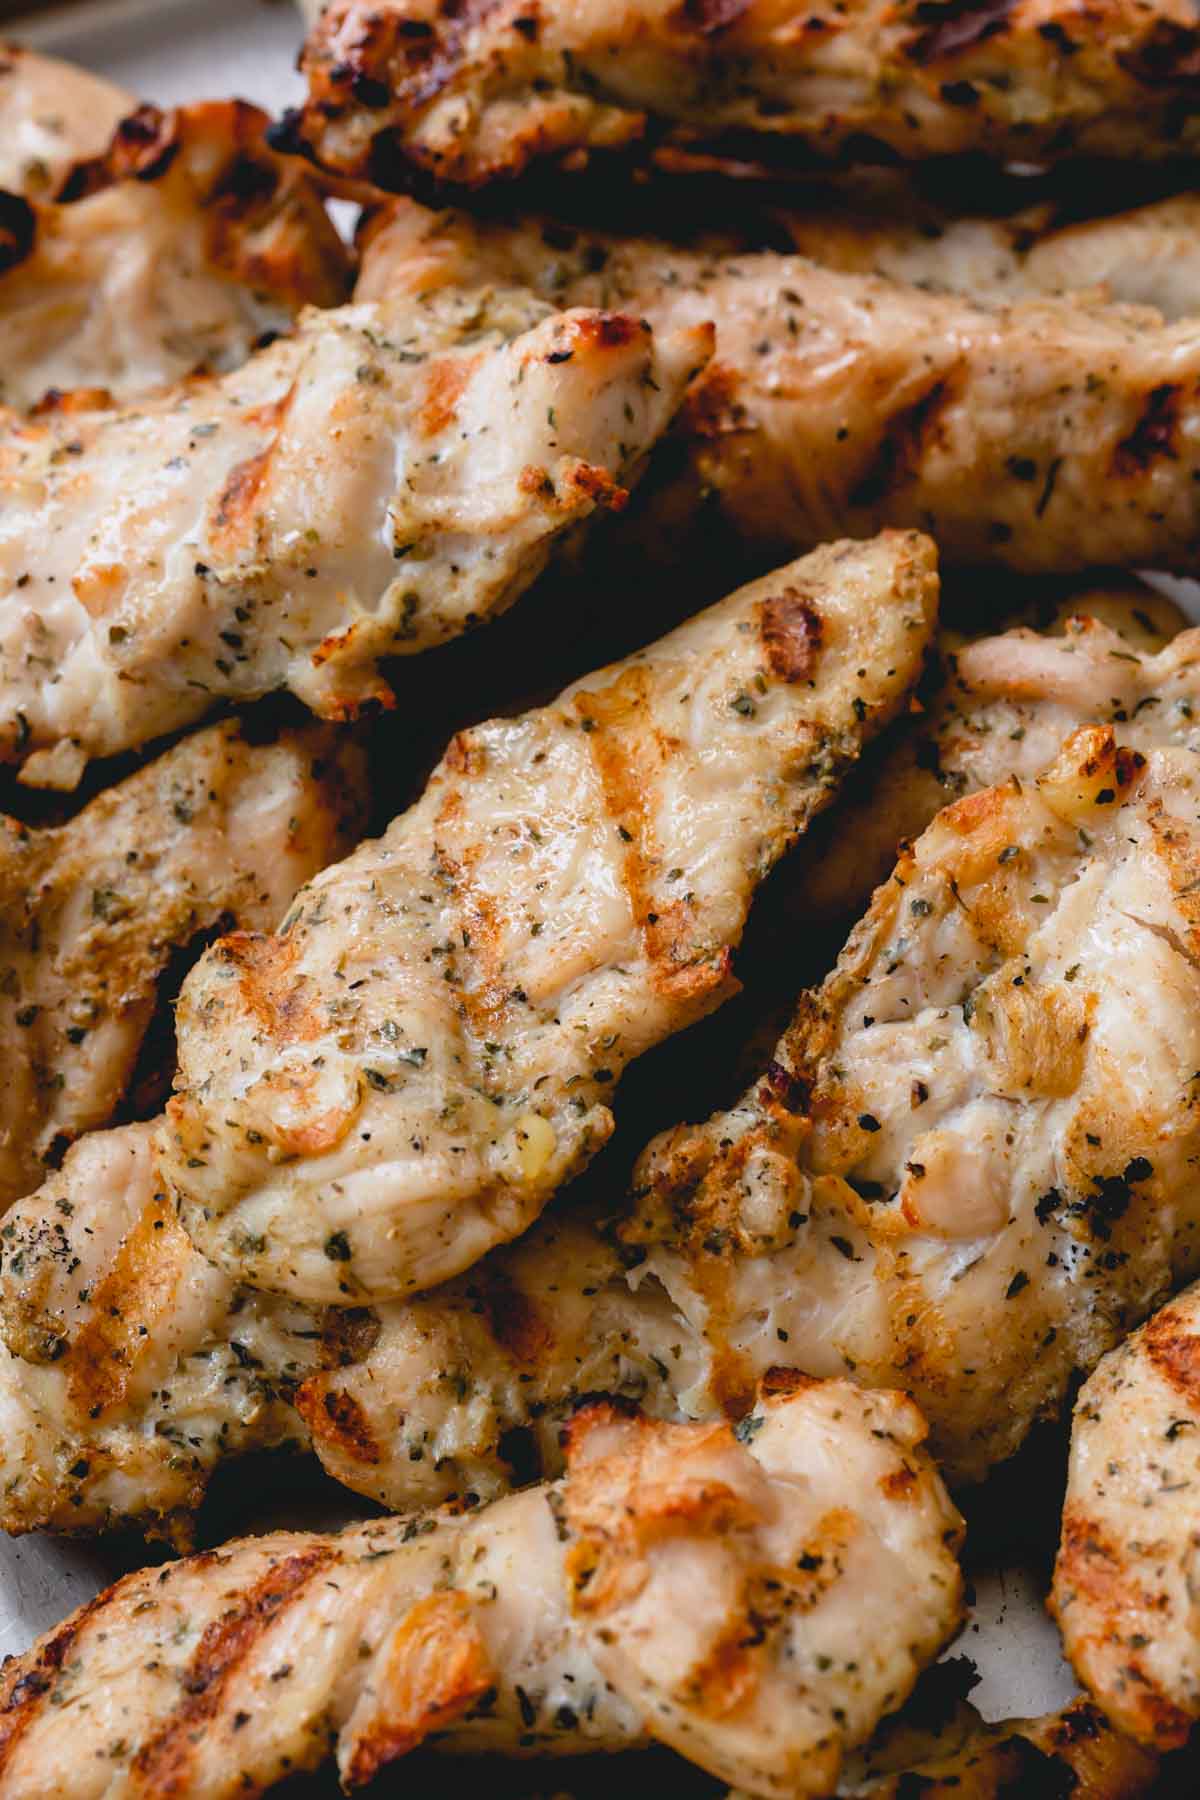
Pickle Brine Chicken
Ingredients
- 1 pound chicken tenders Note 1
- 1-2 cups leftover dill pickle juice Note 2
- 1 teaspoon coarse kosher salt
- 2 tablespoons olive oil
Instructions
- In a medium bowl, place the chicken and add pickle juice. (It’s best if the chicken is fully submerged.)
- Cover and let the chicken marinade for at least 4 hours or up to 24 hours.
- When ready to cook, drain the chicken and pat it dry with a paper towel. Discard the brine.
- Sprinkle salt all over the chicken.
- Heat a large skillet over medium-high heat and add oil.
- Once the oil is shimmering, add chicken tenders and cook for 3-4 minutes per side, or until internal temperature reaches 165°F. (Alternatively, you can grill the chicken tenders for 5-7 minutes per side on a preheated grill.)
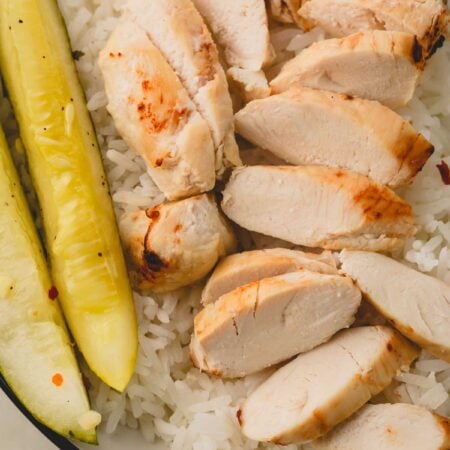
- Serve over salad, roast vegetables, pasta, or rice.
Share your thoughts! If you make this please leave a review letting me know how it was!
Notes
– Store leftover chicken tenders in the refrigerator in an airtight container for up to 4 days.
– Reheat in the oven, on the stovetop, or in the microwave. It’s best to use the oven or stovetop since the microwave can make it dry and chewy. Preheat the oven to 400 degrees and bake until hot throughout.
Nutrition
* Disclaimer: All nutrition information are estimates only. Read full nutrition disclosure.

Tried this recipe?
Make sure to leave a recipe review below!
Sharing of this recipe is encouraged and appreciated. Copying of full recipe to any social media is prohibited.

Comments + Reviews